Configure your vehicle
| INSTALL | PLUG & PLAY BOOST GAUGE: JEEP RENEGADE 1.4L MULTIAIR TURBO

The following guidelines are instructions for installation of the VAITRIX Plug & Play Boost Gauge for all JEEP RENEGADE 1.4L MULTIAIR TURBO vehicles.
PARTS FOR INSTALLATION:
- - Vaitrix GEN2 Gauge
- - Vehicle Specific Harness plugin
- - red positap
- - 3M sticky pads for mounting
- - Gauge Pod stand
- - Remote control
The following wire routing and gauge mounting are recommended (and where we found the most convenient locations). You are free to mount the gauge and run the wiring in any location you prefer, the provided power wiring and ground should be long enough to reach many locations. You can also add on to any wiring if necessary.
Disconnect your negative battery terminal before proceeding.


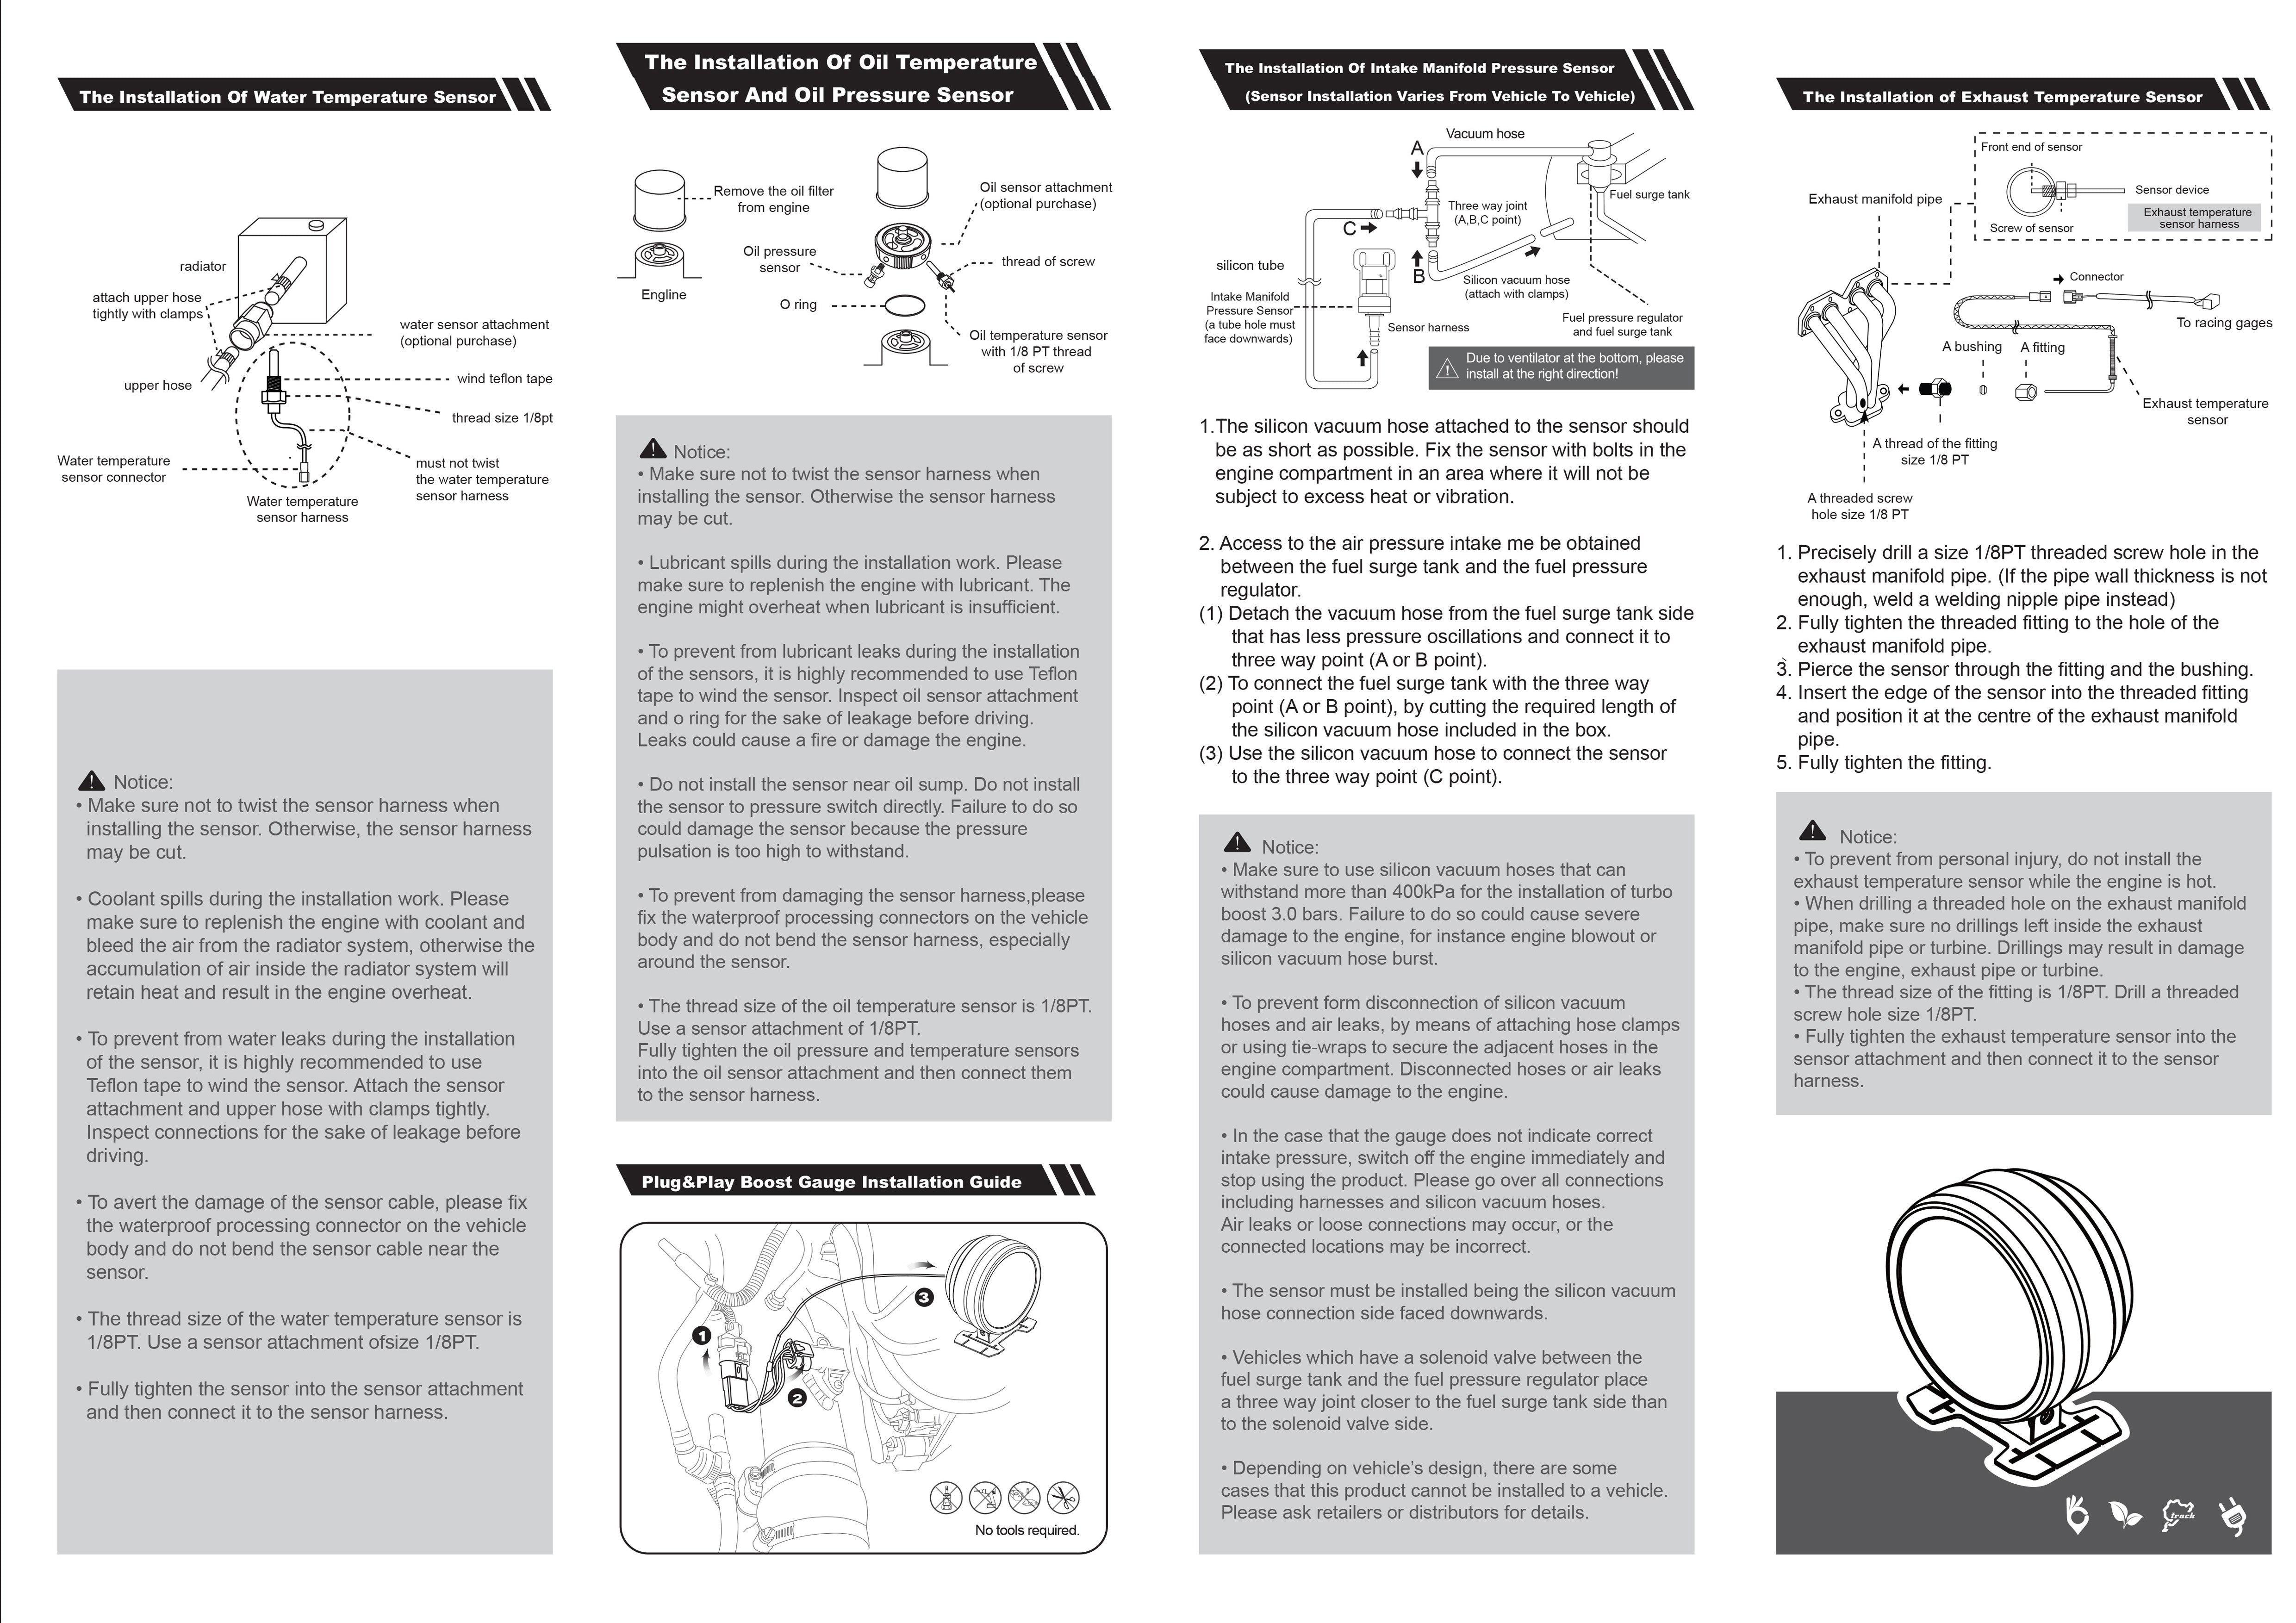
1. First we will locate the (1) sensor we will be working with. The sensors connect only one way. The Vaitrix gauge harness connector will connect to the factory sensor, and the factory connector will attach to the female side on the Vaitrix connector.
- A. Manifold Pressure Sensor
2. Once the Vaitrix sensor harness is connected to the MAP sensor, you will need to find a place for the wiring to pass through to the cabin. This wire will run all the way to the gauge and connect at the back of the gauge.
3. Next, mount the gauge. The gauge wiring can run easily off the side of the dash and through the trim in the door jam, but you can put the gauge any place you desire.
4. The second harness for the gauge contains wiring (red, yellow, blue, and black). We will not be using the blue wire. The red wire connects to a 12V battery source for the gauge memory. The yellow wire will connect to ignition power, and the black is for a reliable ground.
5. First connect the red 12V power wire, we recommend the battery (below).
6. Next, connect your ignition power source (yellow wire). We recommend the wiring cluster at top of the firewall and the following wire below. Use the red positap.
7. Connect your ground wire.
8. Reconnect your battery, and turn on the ignition. The gauge should power on, and then read near zero. If the gauge is flashing alternately, this means you need to double check your connector at the sensor or power/ground for a solid connection.


