Configure your vehicle
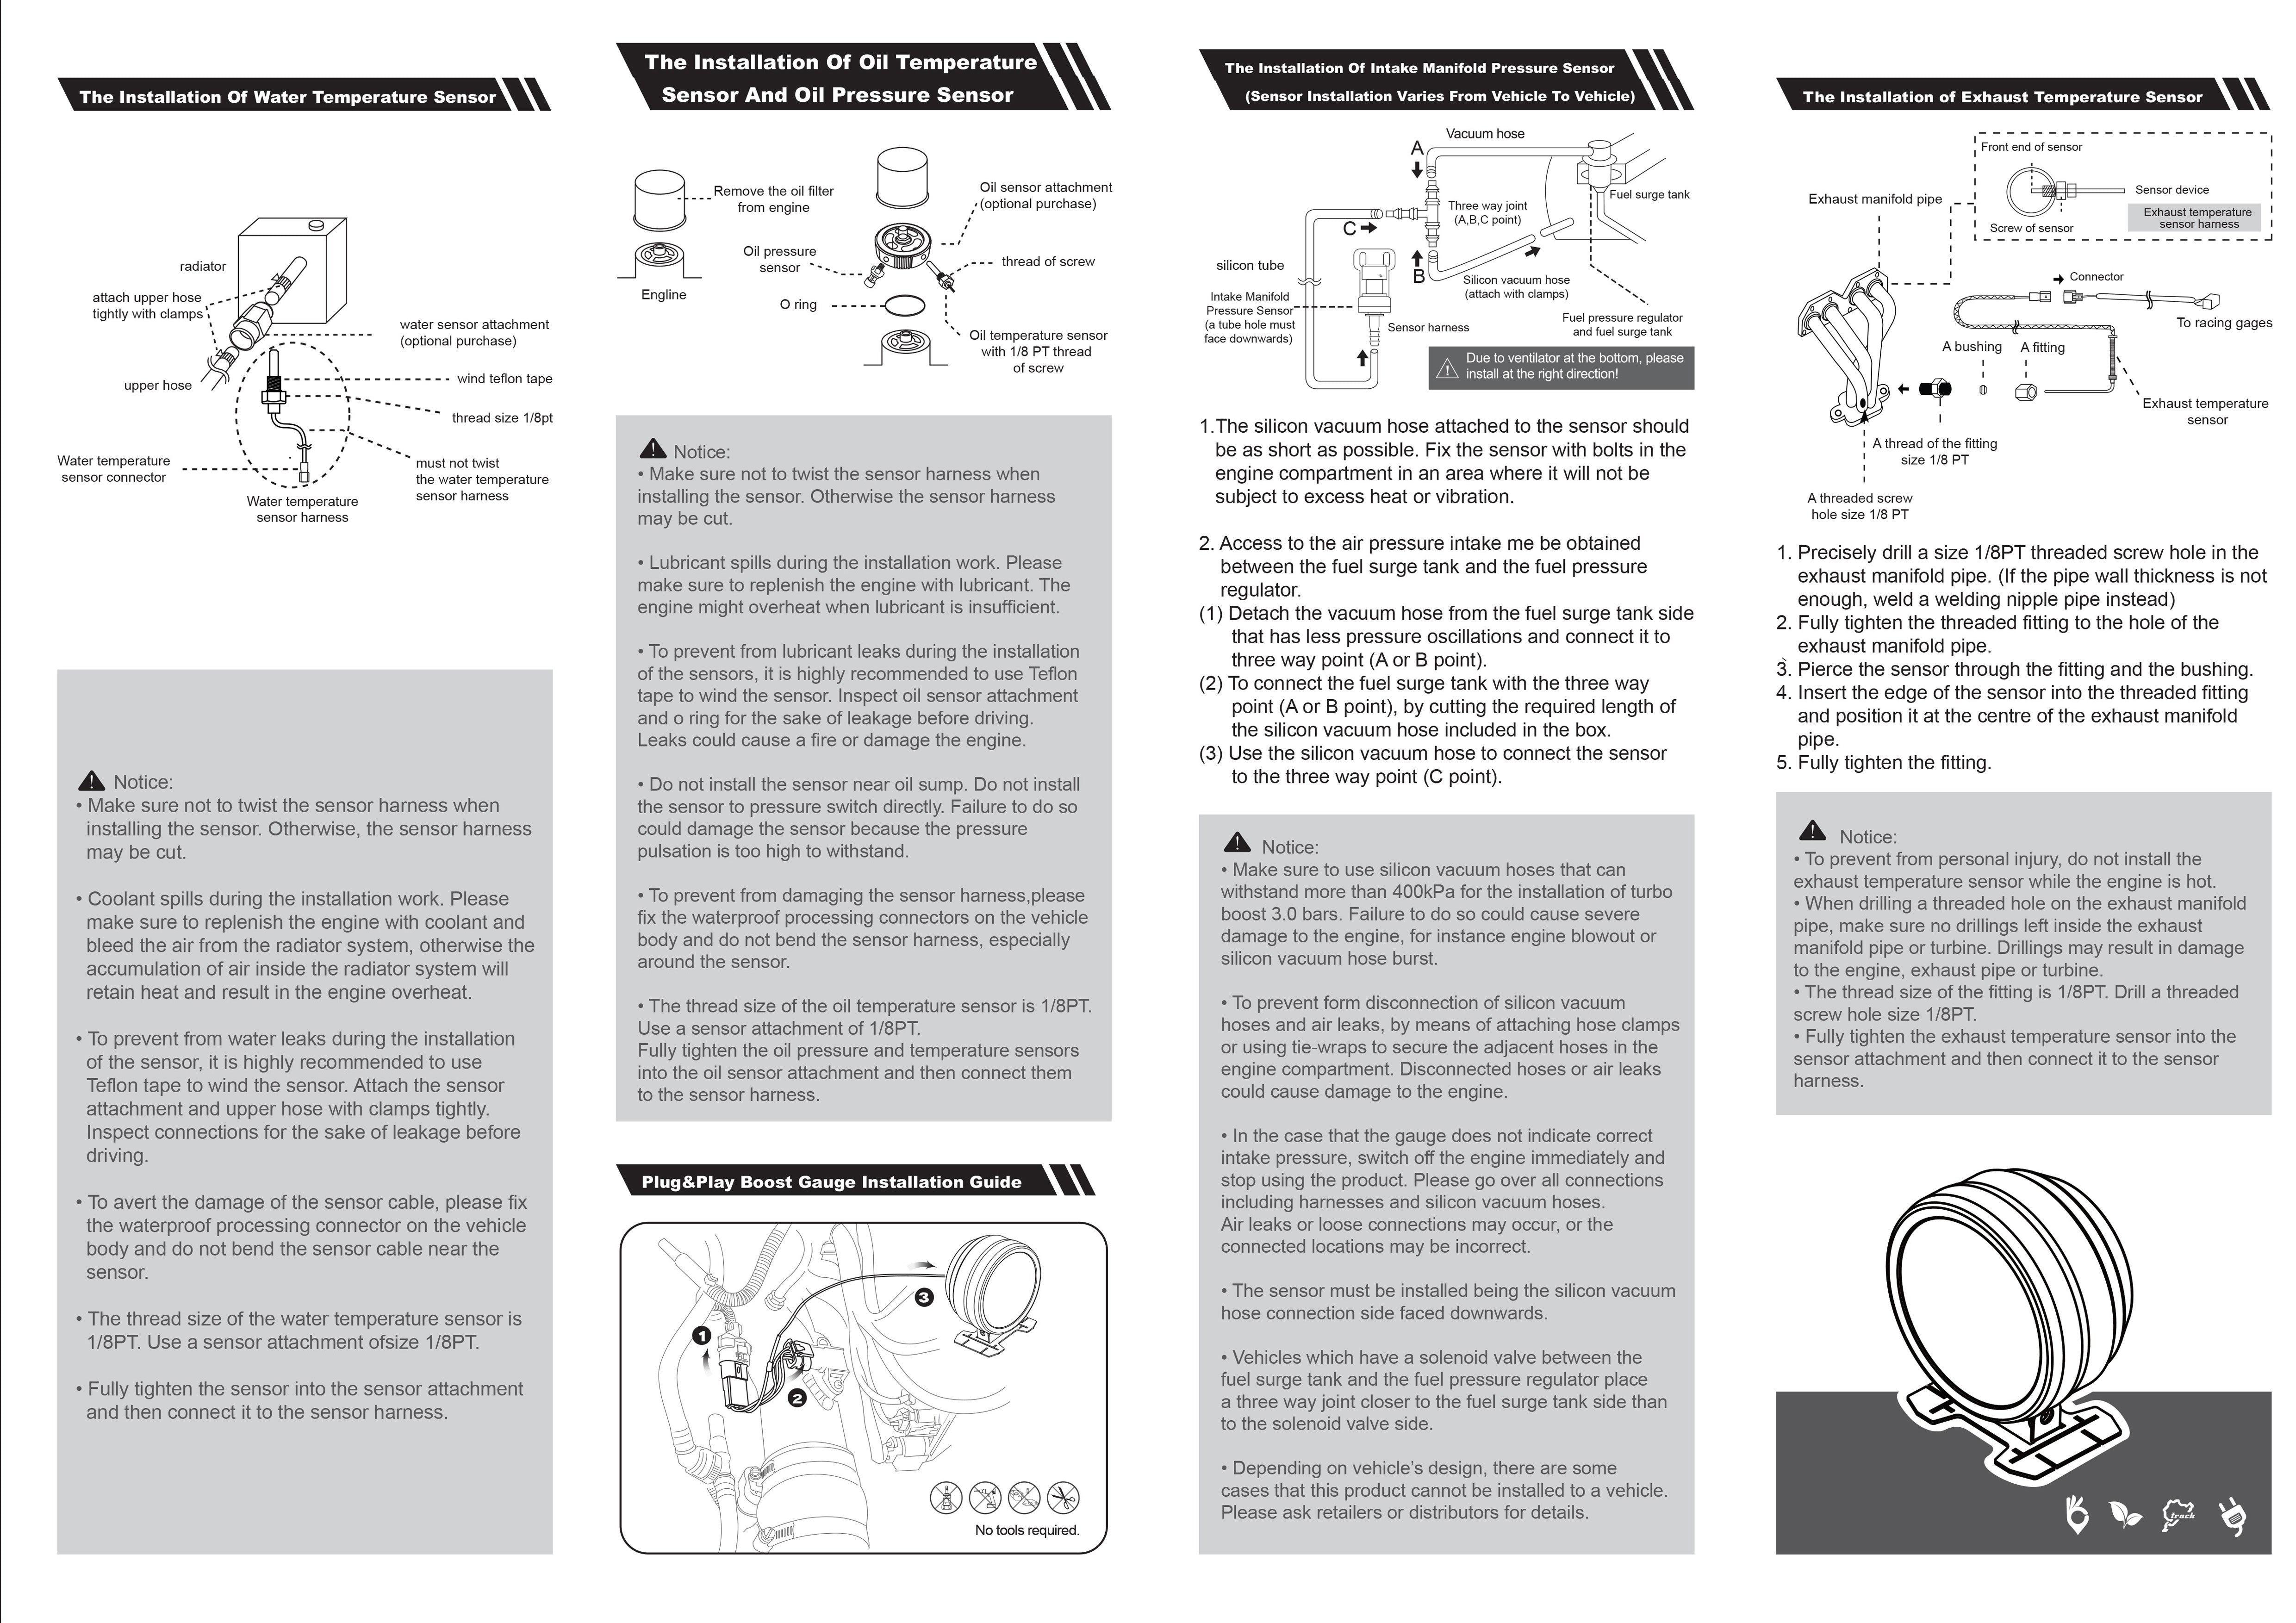
| INSTALL | GEN2 PLUG & PLAY BOOST GAUGE: Installation Overview

Overview guidelines for installation of the GEN2 Plug and Play Boost Gauge by Vaitrix.
This installation is general. We may have more specific installation guidelines for a particular car, but using this installation document will allow you to install the gauge on any car, the format is the same. Wiring harness for MAP sensor will differ depending on the car model.
On almost every car, the GEN2 boost gauge will plug directly into the manifold sensor on the engine, and the factory harness as part of the wiring harness for the gauge kit.
The gauge kit consists of one general set of wiring:
- -Blue Wire: not used on most vehicles
- -Red Wire: 12V power source (this is for the gauges internal memory and will not matter in regards to powering up the gauge. This means the 12V power source can have power all of the time and it will not power up the gauge).
- -Yellow Wire: This is ignition power source, and will power up the gauge when the ignition is on. It's important that you find an ignition source that turns off with the car so that the gauge does not stay on all of the time.
- -Black Wire: This is your ground.


