
Configure your vehicle
| INSTALL | PLUG & PLAY BOOST GAUGE: Volvo SPA T5/T6 Engines

The following guidelines are instructions for installation of the VAITRIX Plug & Play Boost Gauge for all VOLVO SPA Engine vehicles (T5 and T6).
PARTS FOR INSTALLATION:
- - Vaitrix GEN2 Gauge
- - Vehicle Specific Harness plugin
- - Add a Fuse/positap
- - Two sided wire connector (red)
- - Ring Connector
- - 3M sticky pads for mounting
- - Gauge Pod stand
- - Remote control
The following wire routing and gauge mounting are recommended (and where we found the most convenient locations). You are free to mount the gauge and run the wiring in any location you prefer, the provided power wiring and ground should be long enough to reach many locations. You can also add on to any wiring if necessary.

1. Disconnect battery (found in trunk compartment)

2. Next, you must disconnect the throttle pedal in order to access the pass through for your boost gauge wiring. Use a flat head to open the access panel at the base of the pedal.

3. Use a torx attachment to loosen and remove the bolt.

4. Grab the base of the pedal, twist to the right, then pull the pedal up. Be careful, the pedal is still attached to the pedal sensor. Once the pedal is pulled out of it's locking hole, disconnect the pedal sensor and set aside the pedal.

5. To the right of the pedal location, pull back the carpet flooring to access the pass through location (slot/hole is covered with a grommet).


6. Remove the access panel to the left of the driver's side AC vent. The door must be open to see it. Use a trim tool and pull from the top most corner. This piece snaps into place with connectors. Once the top corner is loose, the rest of the connections will come out easily. This is where we will pass our wiring through the dash from the gauge to the grommet pass through in the floor to the engine bay area.

7. Mock up your gauge positioning, and take the main wire (has the power, ground, and ACC wiring attached (red, yellow, black) for the gauge and prepare it to pass through the dash access panel to the grommet in the floor. This will help make sure the wiring does not get caught up while connected to the gauge and ensure you have mess free routing.
The wire will pass through the dash right behind the steering wheel and behind the plastic shrouding. It will come out the other side, near the grommet pass through in the floor that you exposed earlier.
There is a blue wire also on this main wire for the gauge. This wire will not be used.


8. Now you will be heading underneath the car. Once underneath, find the support brace that runs across right underneath the exhaust. On the drivers side, loosen/remove the bolt and remove the push pin fastener shown below.

9. Just above this area, there is another plastic fastener holding the exhaust heat shielding in place. Loosen this and remove also.

10. Once these are removed, pull the heat shielding away to expose the pass through grommet you located in the floor of the cabin. The heat shielding is relatively flexible, and you will be able to put it back into place once finished.


11. Go into the cabin of the car, and remove the grommet.

12. Now we will pass our wires through the grommet hole, and then along the firewall up into the engine bay area. The only wires that will go through are the red (power) and yellow (ignition power) wires. The ground wire can be mounted to the location below, a bolt just above the grommet hole.

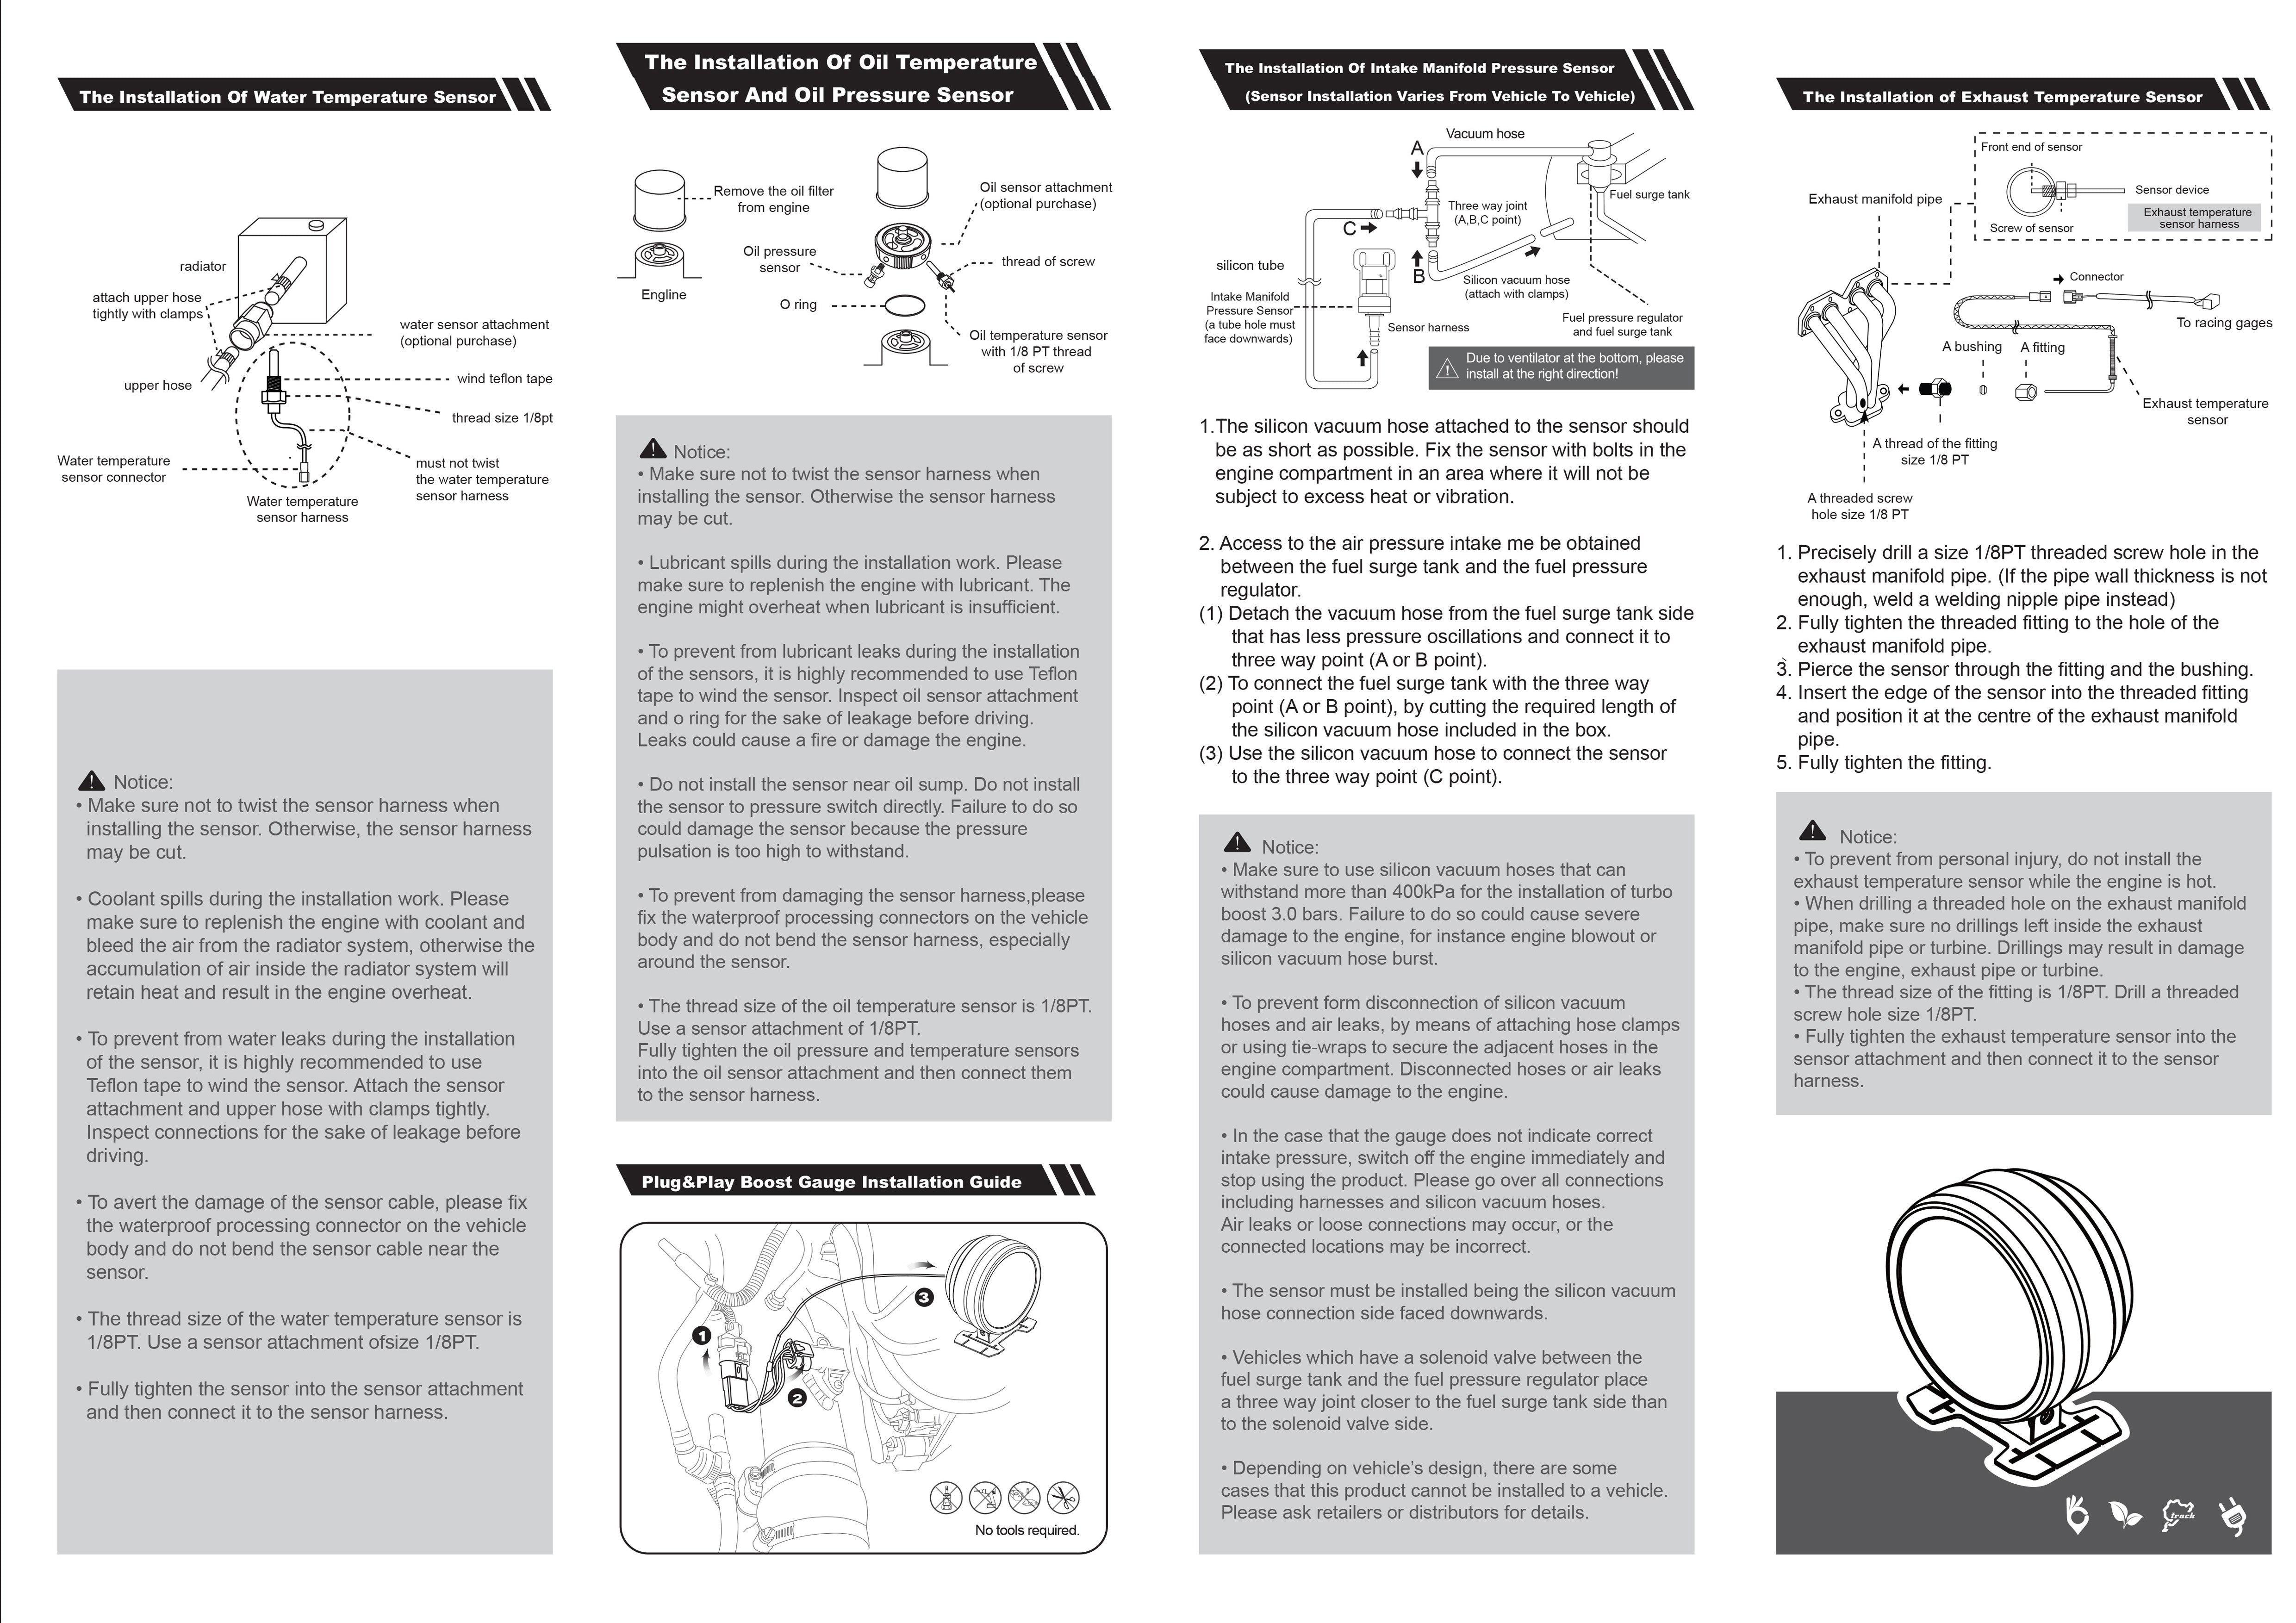
13. Once your ground is mounted, and the red/yellow wiring has been fed through to the engine bay, we will not connect the sensor harness for the boost gauge. It will connect to sensor "B" in the photo below.

14. This is the Manifold sensor. Take the Vaitrix MAP sensor boost gauge harness. One side connects to the sensor on the manifold, the other side connects to the factory connector.
NOTE: *If you are also installing the Vaitrix Booster ECU or have it already installed, the connectors must be installed in a specific order:
---
Factory Sensor------>Boost Gauge Connector (Male) >
>Boost Gauge Connector (Female)----------->Booster ECU connector (Male)>
>Booster ECU connector (Female)------------>Factory Connector (Male)
---

15. The small wire coming from the Boost Gauge harness (which is connected to the map sensor) will go down the firewall, out of the engine bay, through the grommet pass through, and under the dash up to the boost gauge.
As shown below, the main wire connects to the top, right hand side port. The Boost Gauge harness wire will connect to the 3 pin port (bottom left).

16. Now you will connect your yellow wire (ignition power) to a source of ignition power. We recommend the F12 Fuse slot inside the fuse box. Instructions on how to do this are included in our Booster ECU installation (click here). See Steps 7-9, and use the provided red wire connector and add a fuse.
If you already have a Vaitrix Booster ECU installed, use the included positap, and connect the yellow ignition power wire from the Boost Gauge harness to the Booster power wire via the positap. You can piggyback off of the same ignition source to power both.
17. The Boost Gauge uses an internal memory for your settings and values powered by 12V. The red wire on the Boost Gauge harness is the source for your 12V power to the gauge.
The ideal place to connect this wire is to the AUX battery source in the engine bay. It has a lid held on by (2) bolts. Loosen these and remove them, then remove the lid.
The red wire can then be passed through an opening in side of the battery casing, and connected to the main wire source below.
NOTE: *Be careful. This battery still retains power. This is a good source for 12V for the memory of the boost gauge, but it will not keep the boost gauge powered all the time during ignition off.

FINAL STEPS:
Once everything is connected, you can begin to button up everything you have taken apart.
-Put the heat shielding back into place, and reinstall the fasteners and bolt underneath the car. Make sure your wiring is tucked behind.
-Put the flooring/carpet inside the car back into place. It should cover all wiring, ensuring nothing is exposed or in the way.
-Place the dash access panel back into place, it should snap in easily.
-Mount the gas pedal back into place.
-Reconnect the battery
Once the battery is reconnected, you can turn on the ignition to test the gauge. If the gauge is blinking alternately between the needle and back light, you need to double check your connections and try again.
The gauge should power up, and then show 3.5psi reading with the just ignition on. This is normal due to the way the Volvo sends signal to the manifold sensor before start up.

If you have any questions or concerns, please contact support@vaitrixusa.com.